Notion Integration
Hello Hello!
In this guide you’ll learn how to connect your ReadShape account with Notion, so that your highlights & notes would automatically appear in Notion when you add them to or edit them in ReadShape.
📍 Important We will create a "ReadShape Internal Sync" database next to the "ReadShape Books" database. It is crucial that you do not delete it or subsequent syncs will fail.
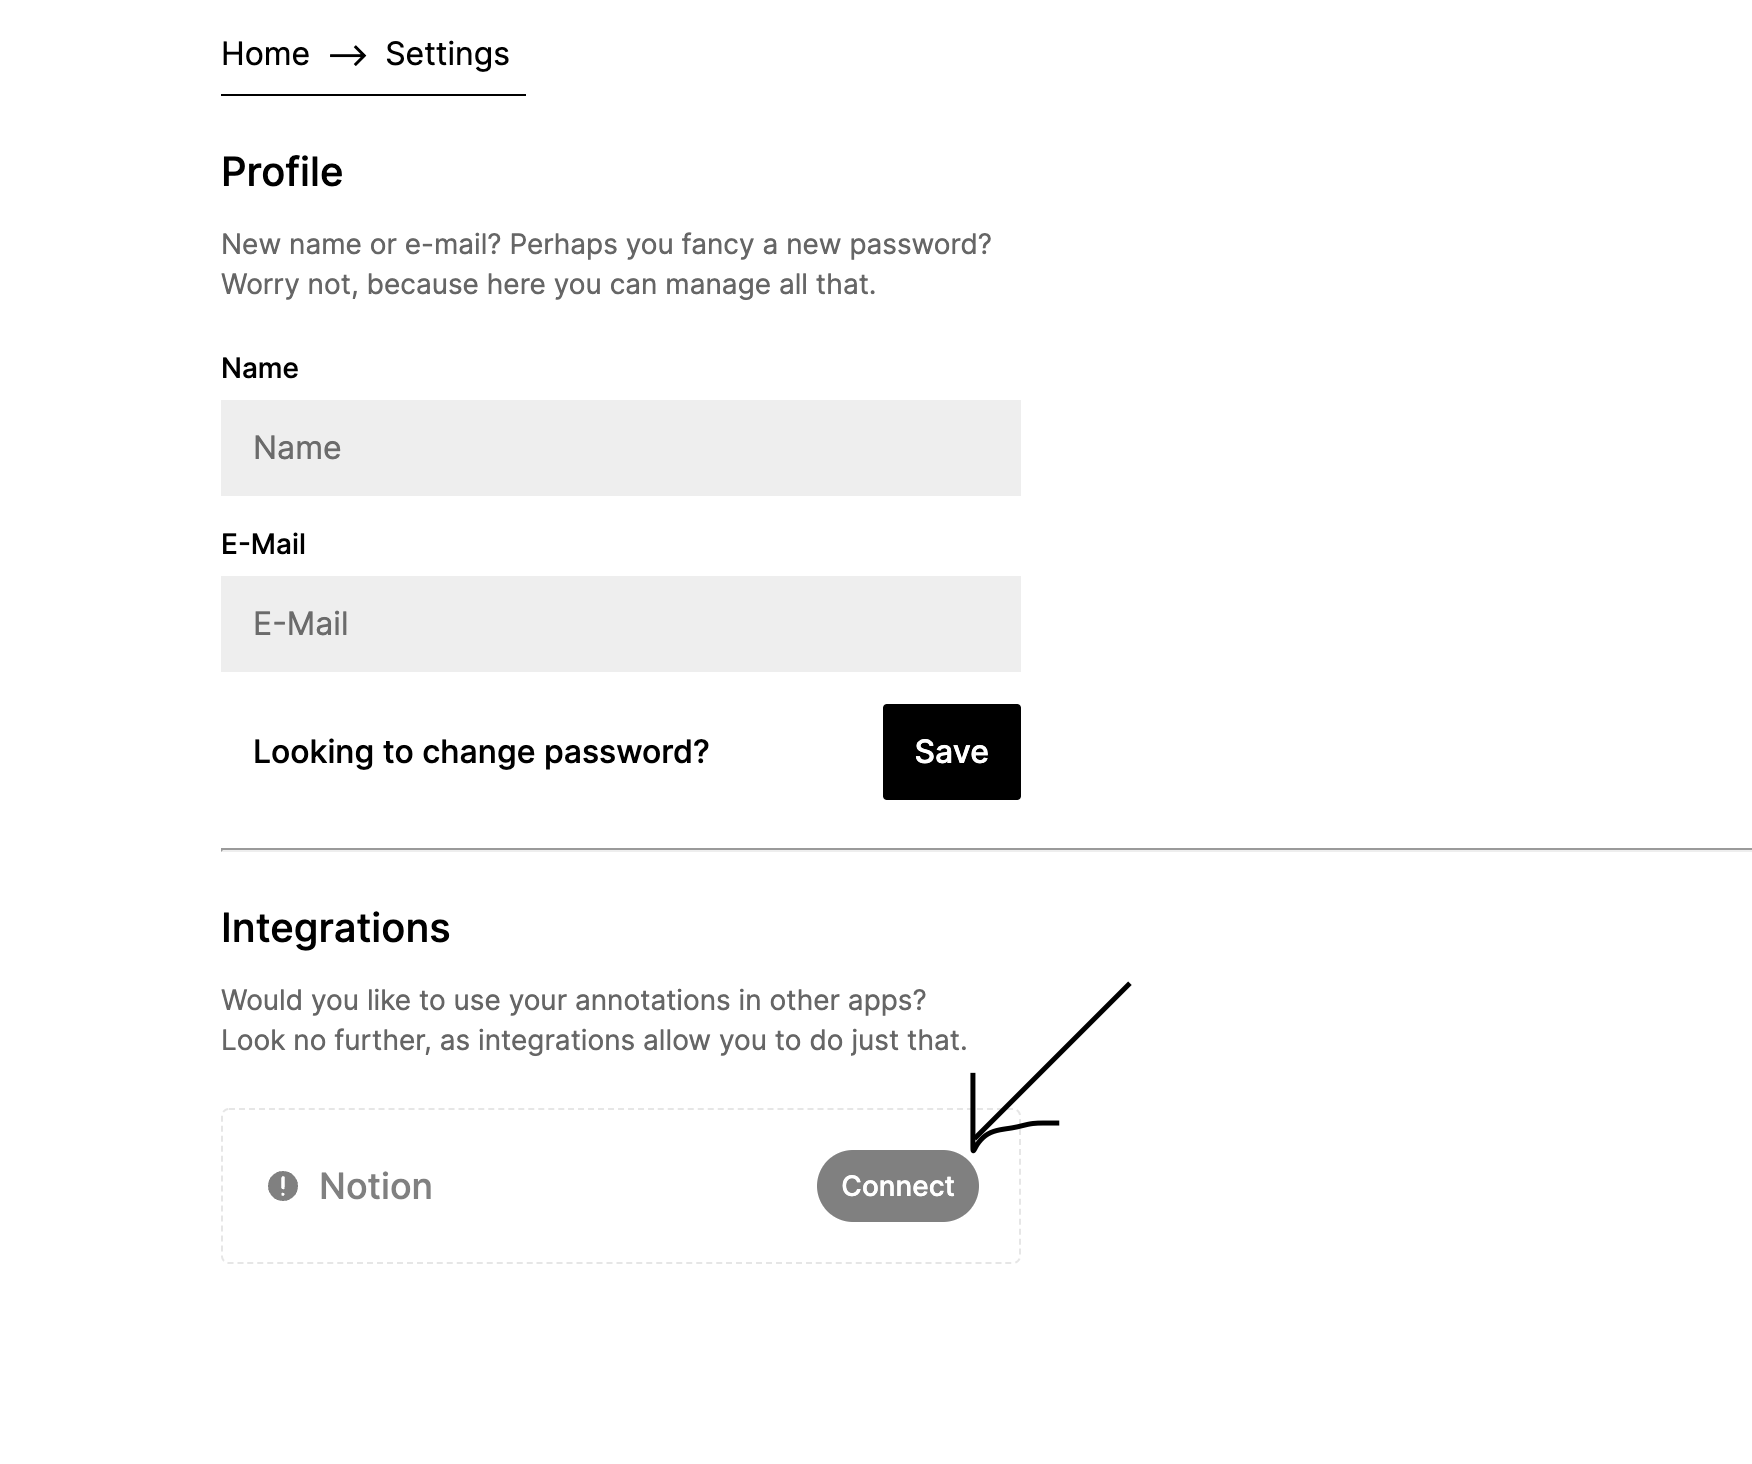
1. Navigate to the settings page & connect
Navigate to the ReadShape settings page, either through the UI (click the cog in the bottom-left side, then select “Settings”) or by going directly to readshape.com/settings.
From here, scroll down to “Integrations” and, on the item which says “Notion” click “Connect”.
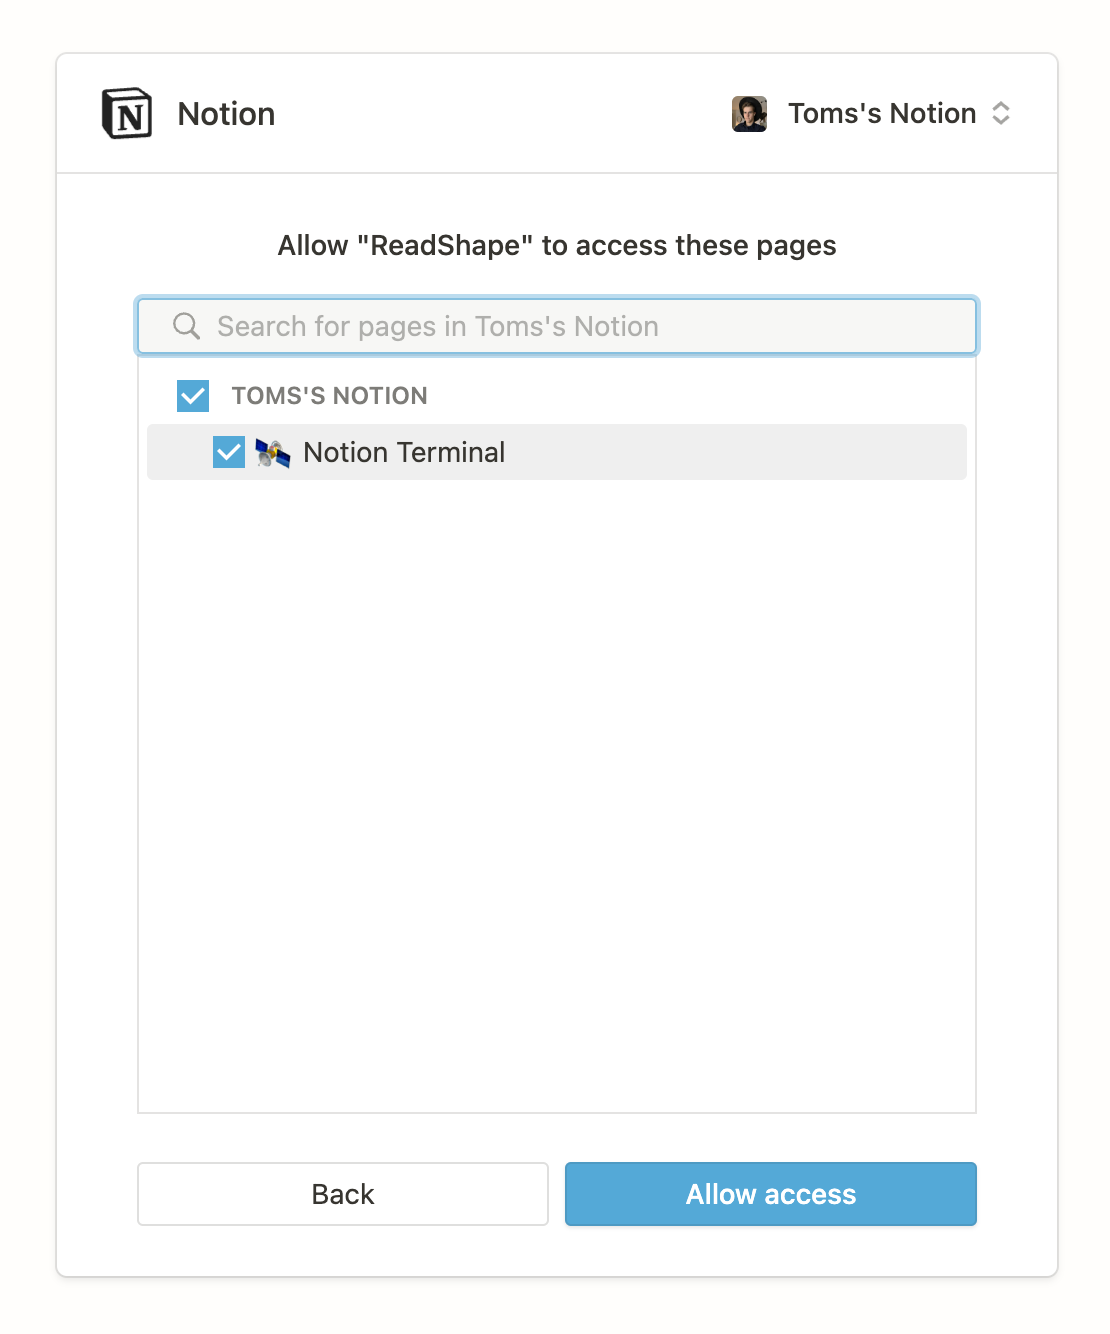
2. Select the appropriate Notion pages
You’ll be redirected to the Notion authorization page. Here, you need to select the pages to which ReadShape will be granted access to.
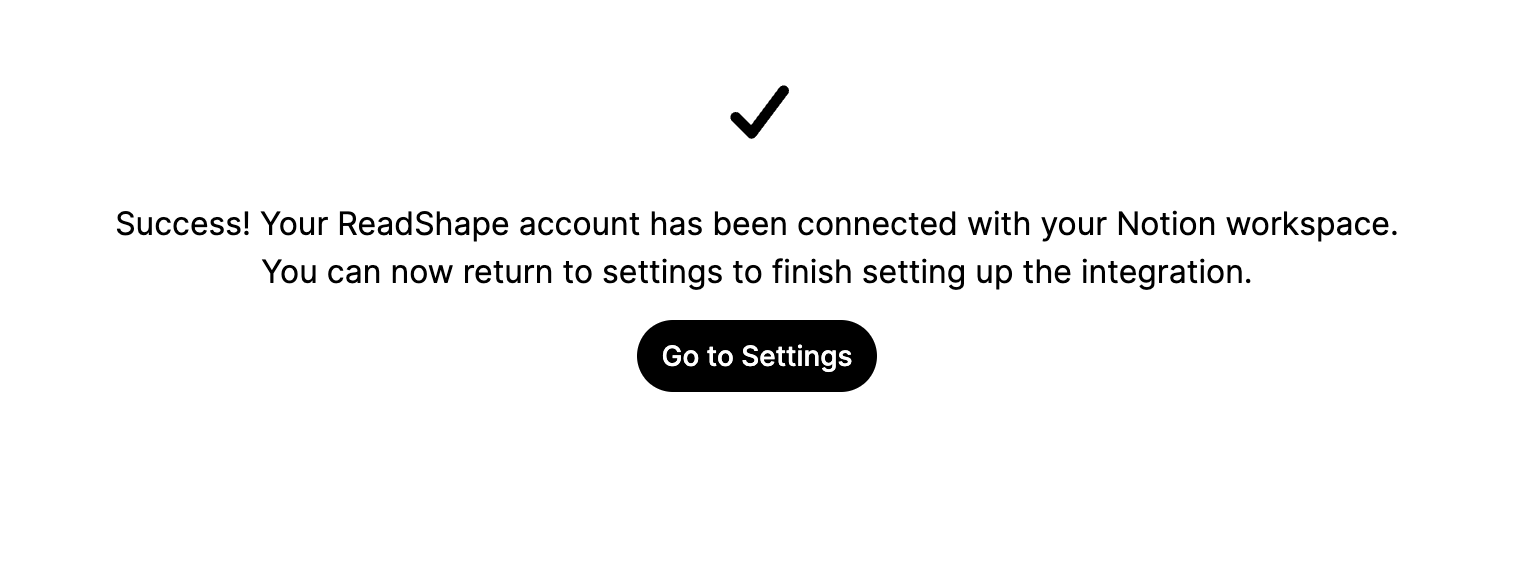
3. Back to ReadShape
Now, if everything went smoothly, you should be redirected back to ReadShape, where we assure you that everything went according to plan.
Here, click the “Go to Settings” button to return back to the settings page.
4. Finish the set-up
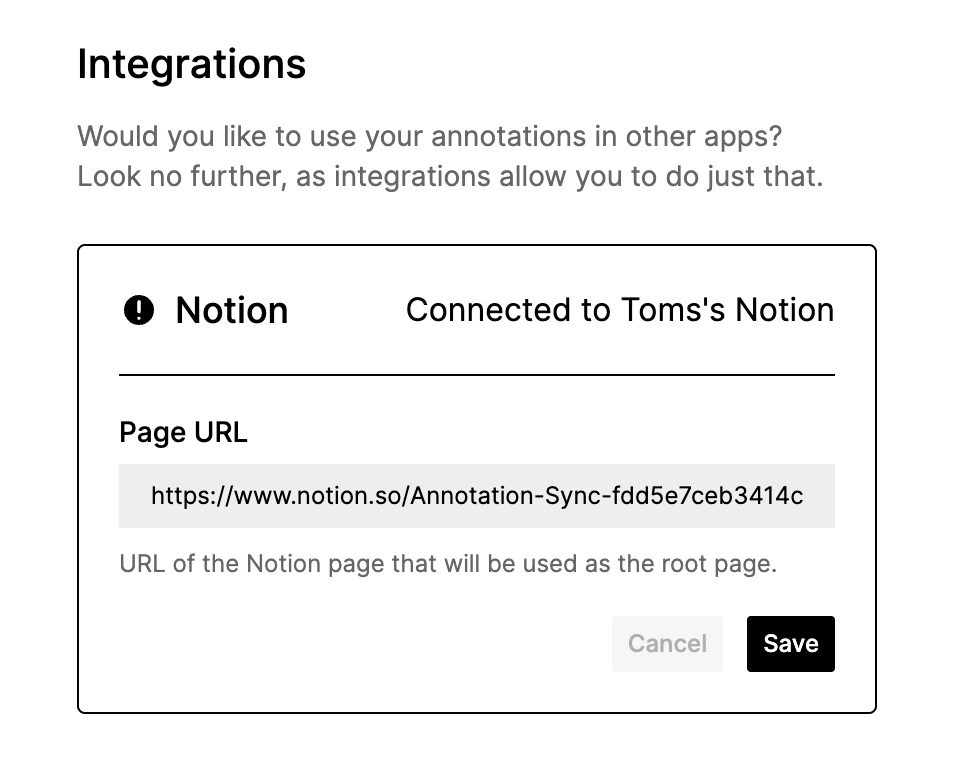
One last thing remains, which is that we need you to give us a link to the exact Notion page in which we should create the Notion database of books.
💡 This page must be either the page you granted access to or a sub-page of it.
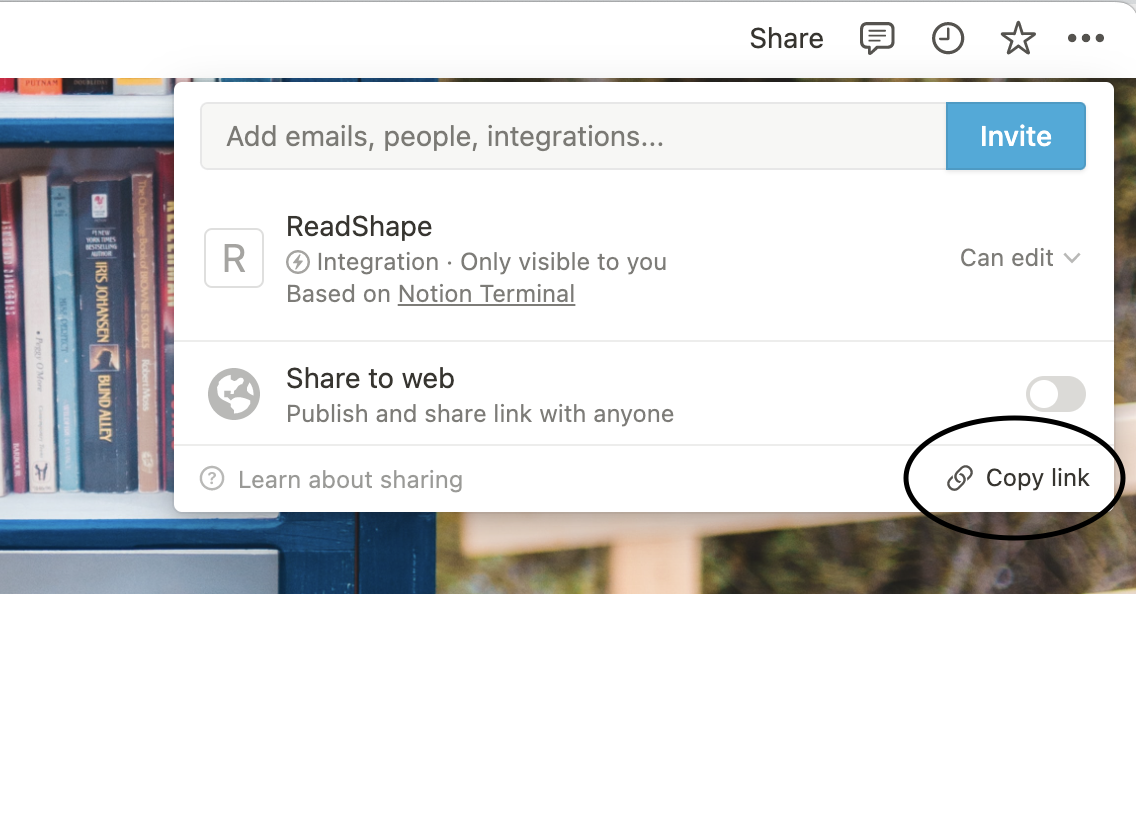
1. You’ll be presented with this view in which you need to give us the URL of the Notion page.
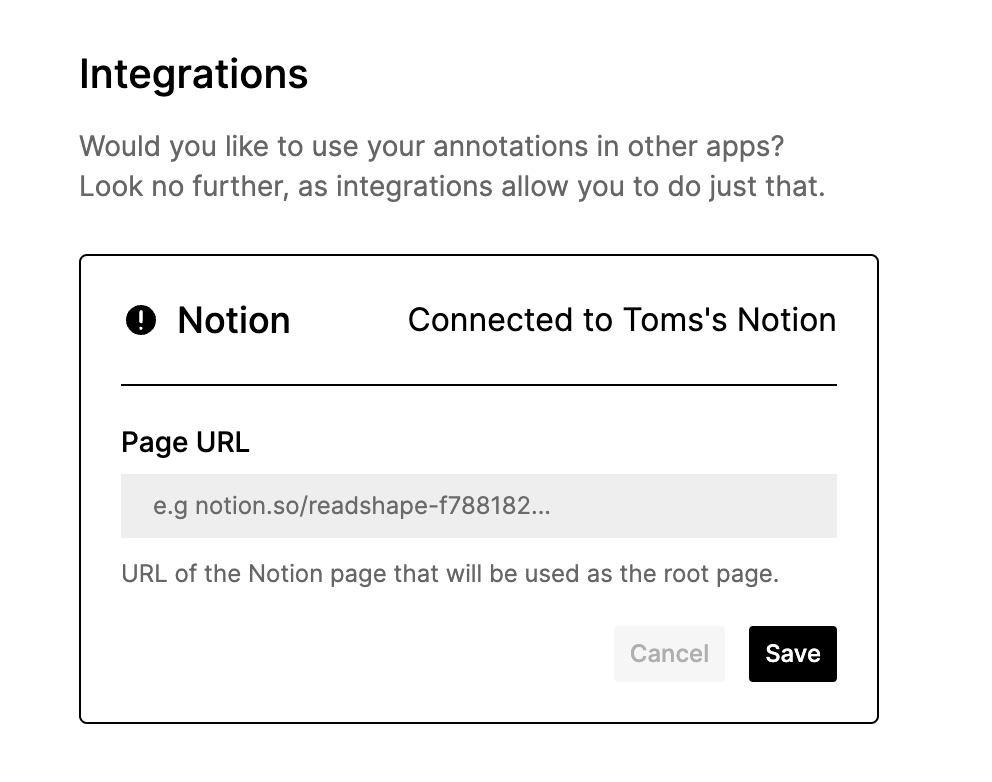
2. Here, go to Notion and in the “Share” menu in the upper-right corner click “Copy link”

3. Return to ReadShape, paste in the link and click “Save”.
5. That’s it!
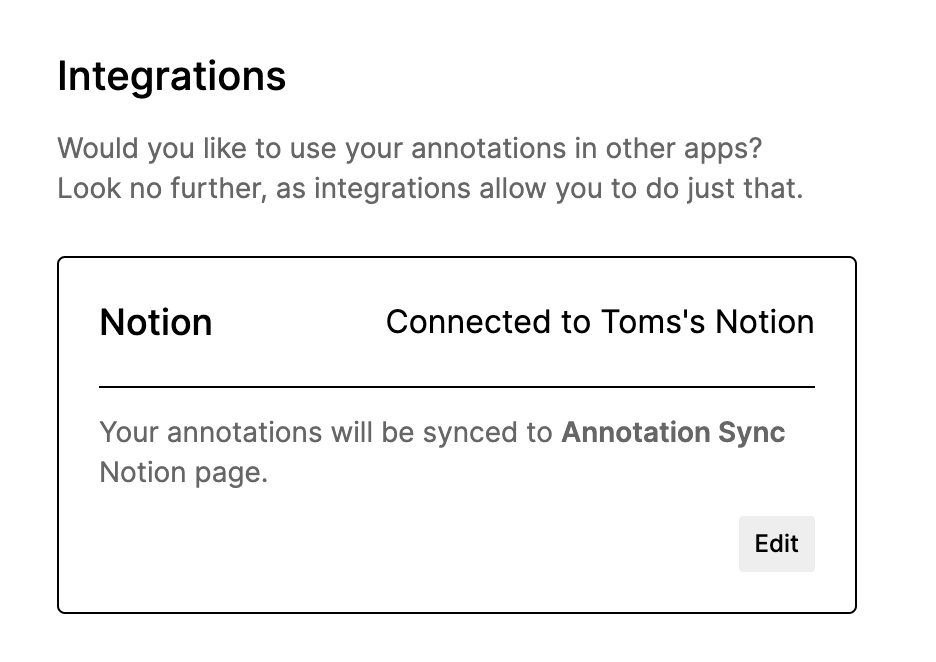
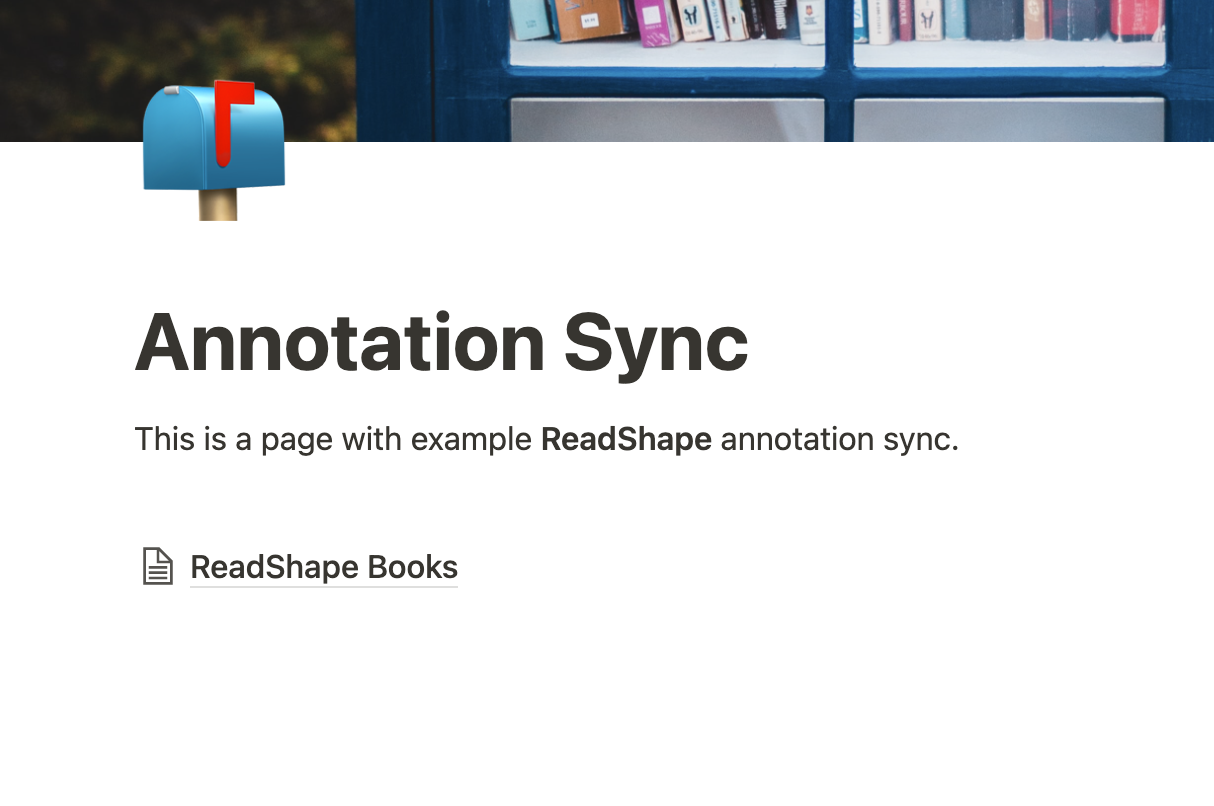
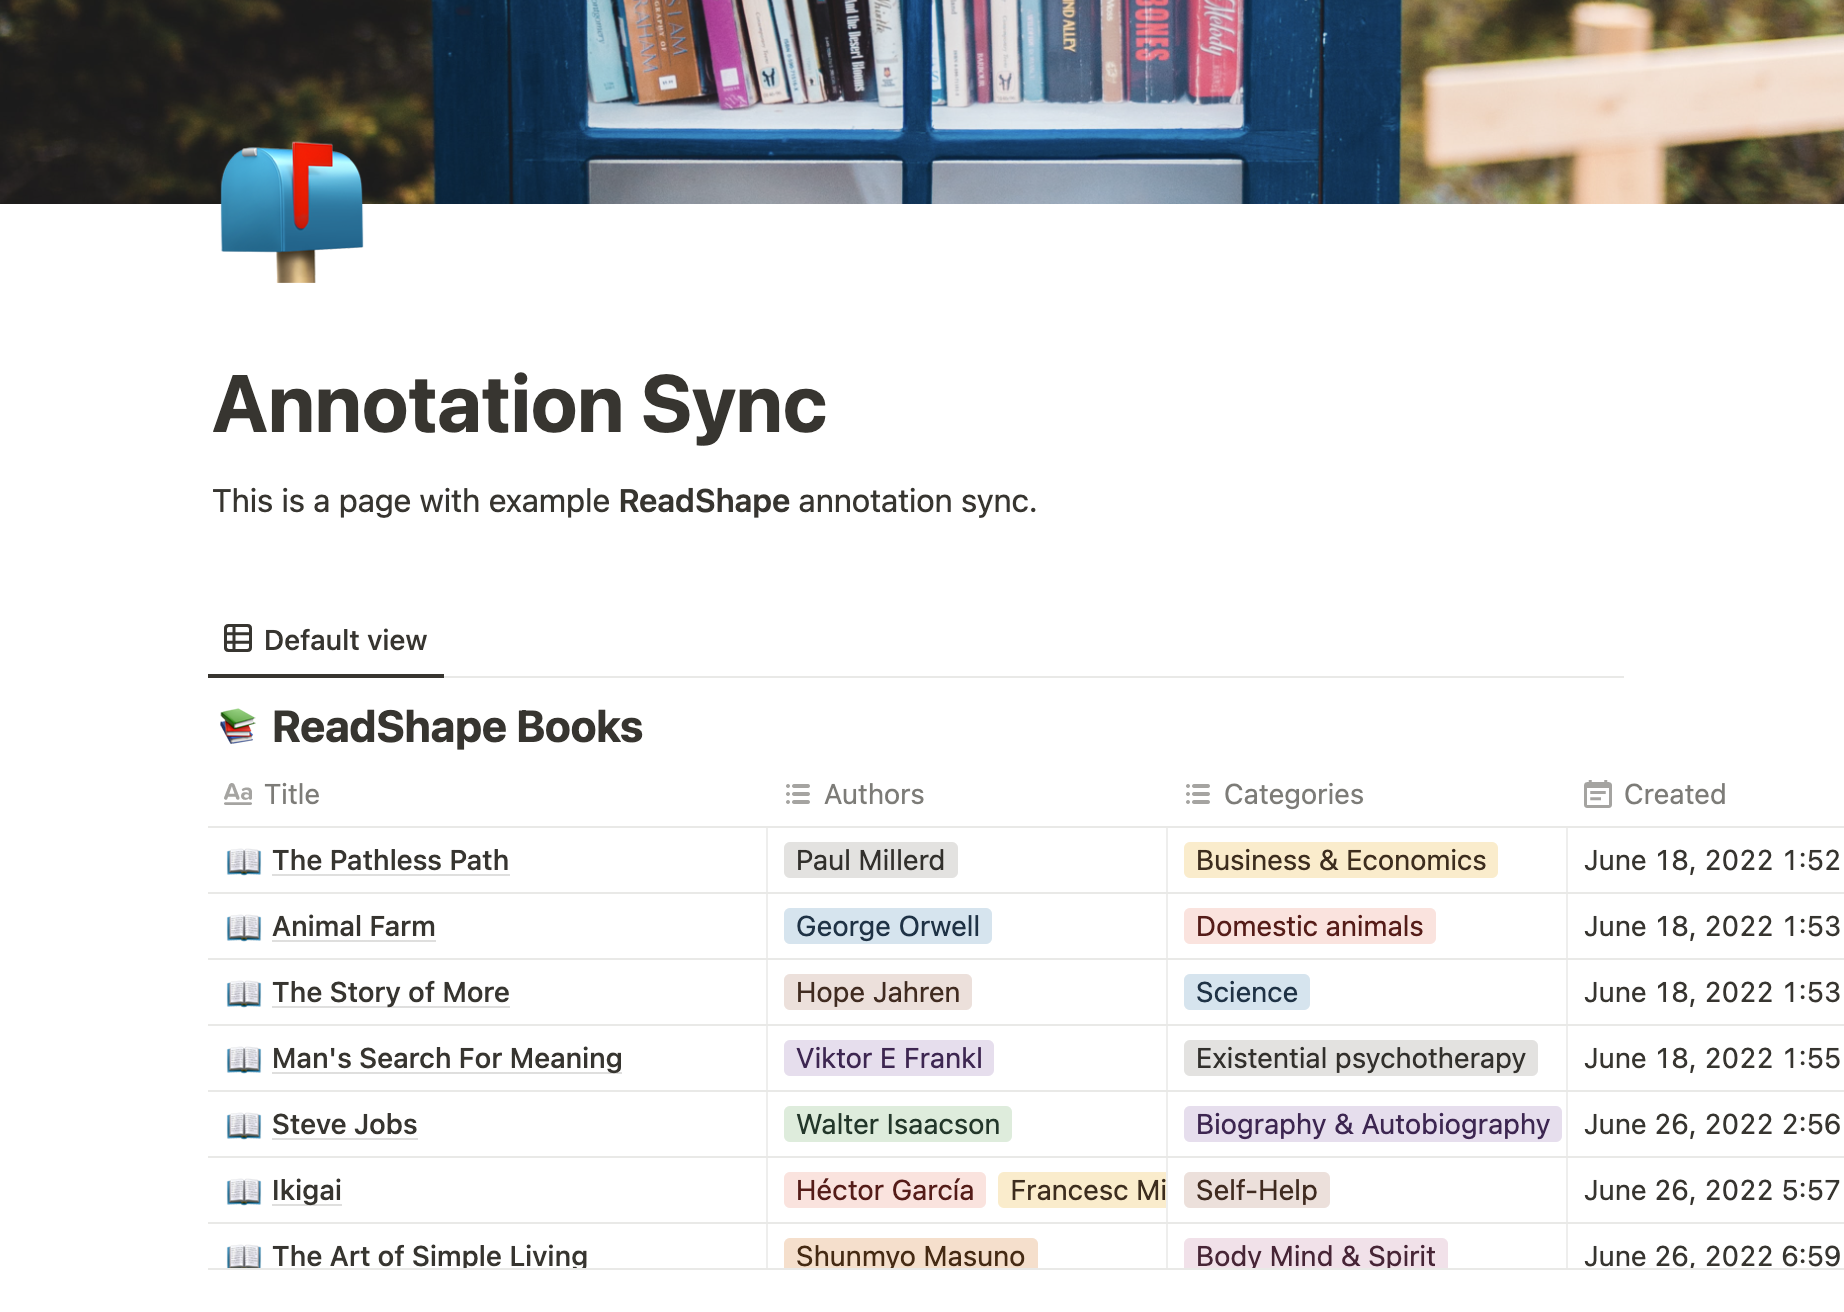
That’s it! You should now see a Notion database created in the page you provided and your books being added to it one-by-one.
Now you can modify the database if you wish by e.g inlining it, giving it an icon, or changing title. It is important not to change any of the existing properties as that might cause trouble in future re-syncs.
6. Any issues?
Did you run into any issues that you cannot figure out? Feel free to E-Mail us at help@readshape.com or by E-Mailing me personally at tbu@readshape.com.